Simple Wi-Fi Setup Guide
The easiest way to connect your extender.
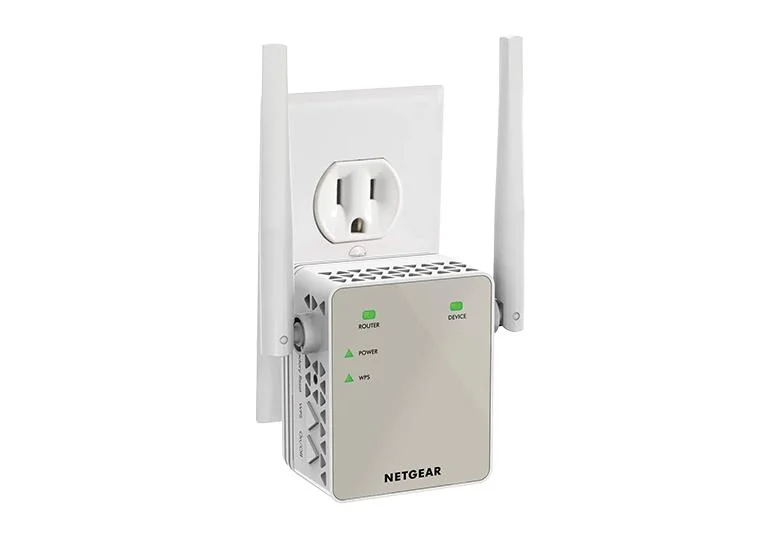
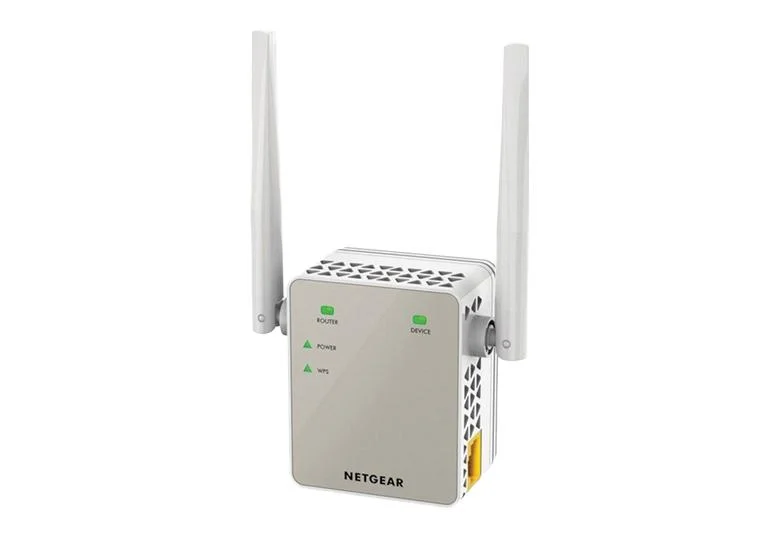
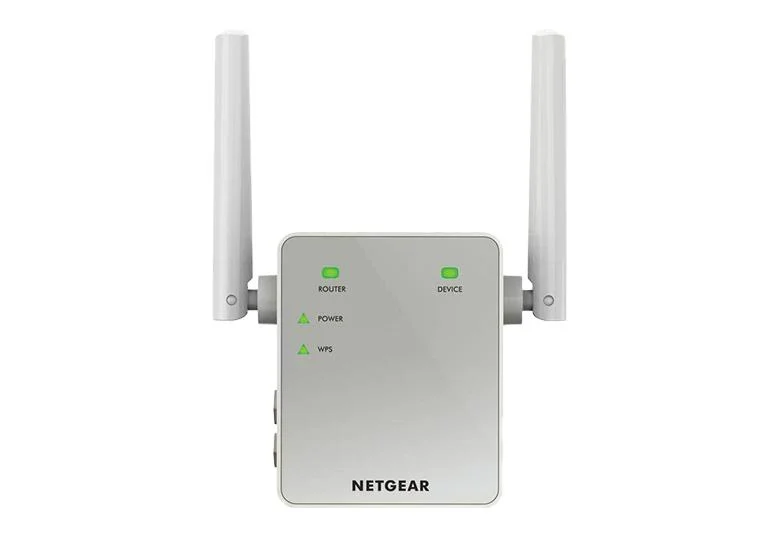
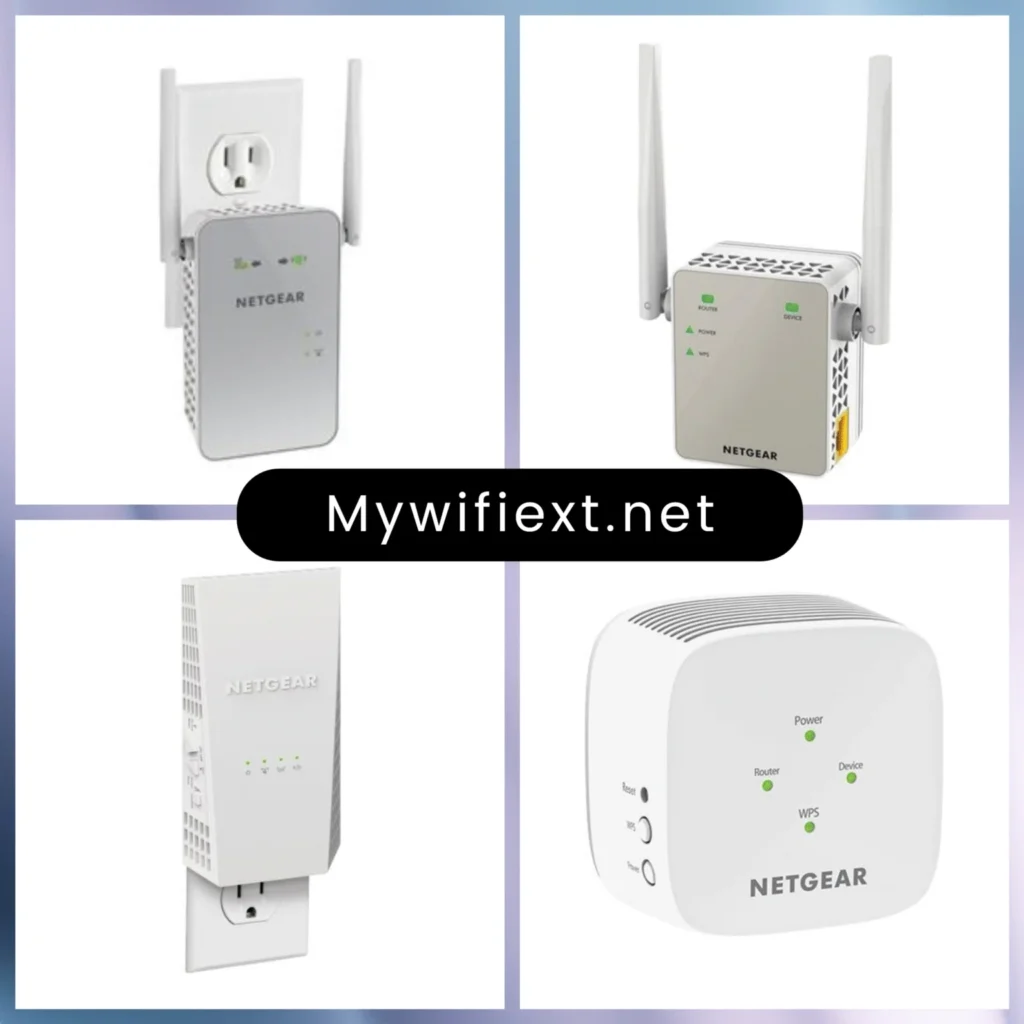
Net gear Wi-Fi Extender
If your Wi-Fi is not strong enough or does not cover all corners of your house or workplace, a Net gear Wi-Fi range extender can be used to bolster your network coverage. This is a step-by-step guide that guides you through various setup procedures and demonstrates how to ensure a solid connection — so that you can browse, stream, and engage online with ease in more places.
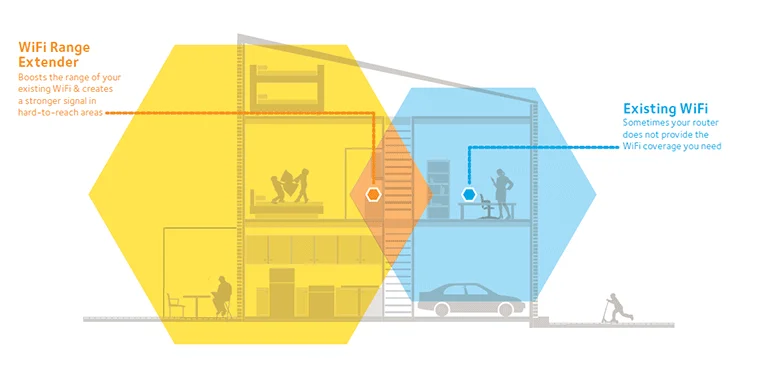
Why Use a Wi-Fi Extender?
Wi-Fi extenders augment your current router to extend coverage. Here’s what you can look forward to:
- Extended Coverage: Fills your Wi-Fi signal into hard-to-reach areas.
- Even Speeds: Allows streaming, video calls, and browsing on several devices.
- Signal Through Walls: Works fine even in houses with thick walls or floors.
- Secure Connection: Allows modern encryption methods such as WPA2 and AES.
- Works With Most Routers: Suitable for most common Wi-Fi networks.
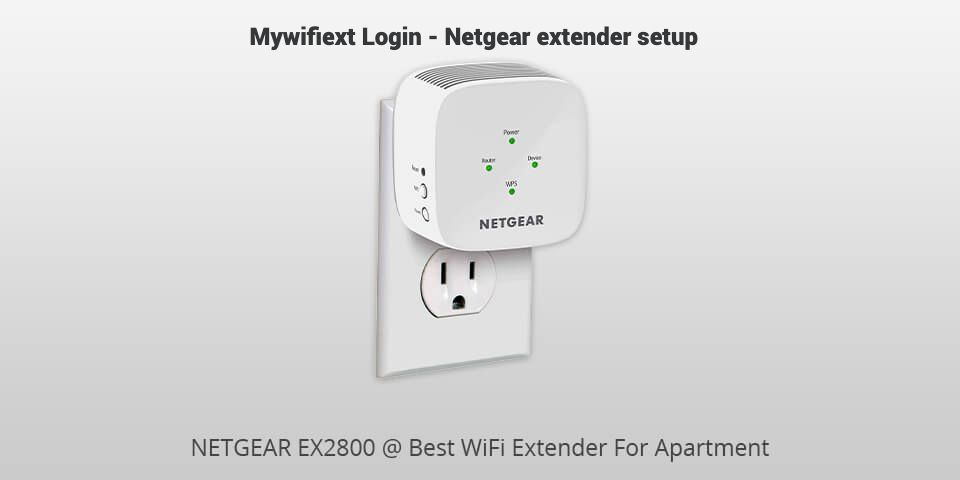
Step-by-Step Setup Using www my wifi ext net at Mycloudcenter.site
To ensure your NET GEAR extender works at its full potential, follow these detailed steps to
complete the installation process.
Method 1: Web Browser Setup mycloudcenter.site
- Plug In your extender and wait for the power light to stabilize (usually green).
- From your device’s Wi-Fi settings, connect to the Extender Network. It should be named something like NET GEAR_EXT.
- Open a Browser and type www my wifi ext net or mycloudcenter.site
- Log In with default details (often “admin” and “password” unless changed).
- Use the Setup Wizard to follow on-screen steps.
- Save Settings and restart the device if prompted.
Method 2: Quick Setup Using the WPS Button
- Place the extender close to your router and turn it on.
- Press the WPS button on the extender.
- Within 2 minutes, press the WPS button on your router.
- Wait for the LED to become solid green — that’s when it’s plugged in.
- Repeat for both 2.4GHz and 5GHz if available.
- Place the extender in its final position.
If your router doesn’t WPS, use the browser-based method.
Method 3: Wireless Setup (No Ethernet Port Needed)
- Reset the Extender by holding down the reset button for 5–10 seconds.
- Connect to the default network (NET GEAR_EXT).
- Open a browser and enter mycloudcenter.site.
4. Finalize setup via WPS or manual entry.
Method 4: Extender Mode
1. Place the extender roughly halfway between your router and the weak-signal space.
2. Power it up.
3. Connect with WPS or my wifi ext net.
4. Choose your primary Wi-Fi, enter password, and complete setup.
Method 5: Access through IP Address
If my wifi ext net is not opening, try:
1. Plug in and turn on the extender.
2. Connect to NET GEAR_EXT.
3. Open a browser and type IP address.
4. Proceed with on-screen setup instructions.
Method 6: Smartphone-Friendly Setup
1. Connect your phone to NET GEAR_EXT.
2. Open a browser and go to my wifi ext net.
3. Do the same thing that you do while using a computer.
Frequently Asked Questions
Q1. How do I begin the setup?
Connect to the default network of the extender, navigate to mycloudcenter.site, and then follow the prompts on the screen.
Q2. What if my router lacks WPS?
Utilize the browser-based manual setup.
Q3. Can I install it without an Ethernet port?
Yes — utilize the wireless setup procedure.
Q4. How do I reset it?
Press and hold the reset for 10–15 seconds until it boots back up.
Q5. Why isn’t my wifi ext net loading?
Make sure you’re on the extender’s Wi-Fi, or use IP address instead.
Reconnecting Your Extender
1. Wait for the power LED to be solid green.
2. Press and hold the reset button for 10–15 seconds until it boots up.
3. Reconnect to NET GEAR_EXT.
4. Open my wifi ext net and reset it again.
Common Setup Challenges and How to Solve Them at Mycloudcenter.site
- net won’t load: Clear your browser cache or use IP address.
- WPS connection fails: Ensure your router has WPS; otherwise, use manual configuration.
- Weak signal: Bring the extender nearer to the router.
- Login not working: Reset the extender and try the default login credentials.
Pro Tips for Better Performance
1. Optimal Placement: Put the extender halfway between the router and the dead zone.
2. Avoid Interference: Keep away from thick walls, microwaves, baby monitors, etc.
3. Use Ethernet Port: Connect smart TVs, gaming consoles, or PCs for stable speed.
4. Name Networks Differently: Helps avoid confusion between the router and extender
networks.
Mycloudcenter.site
Installing a Net gear Wi-Fi Extender is simple with the right instructions. You can use the web browser, WPS button, or direct IP access; the end aim is to broaden your Wi-Fi coverage for more seamless online activity.
For even simpler-to-follow device instructions, check out our blog.